Windows Terminal Services (WTS) allows users to access and utilize specialized software from any computer connected to the University network or VPN, without downloading the software to your computer.
Jump to:
Windows PC
Mac OSX
Apple IOS
Android OS/Chrome OS
What you need to know before using Windows Terminal Services
Data storage
All files must be saved to your network drive (Not the C: drive!) or elsewhere such as an external flash or hard drive to be saved safely and permanently. Data that is left in the profile you are given at login may remain there for several sessions, however, storage is not guaranteed. You may have to map the network drive manually to access your home and group folders through Windows Terminal Services. If you are unsure how to map the network drive, please see our guide on connecting to the network drive.
Licensing
At this time, software on the system can be run by anyone who has access to it. Eventually, however, permission to run software may be restricted to those who who have a valid software license.
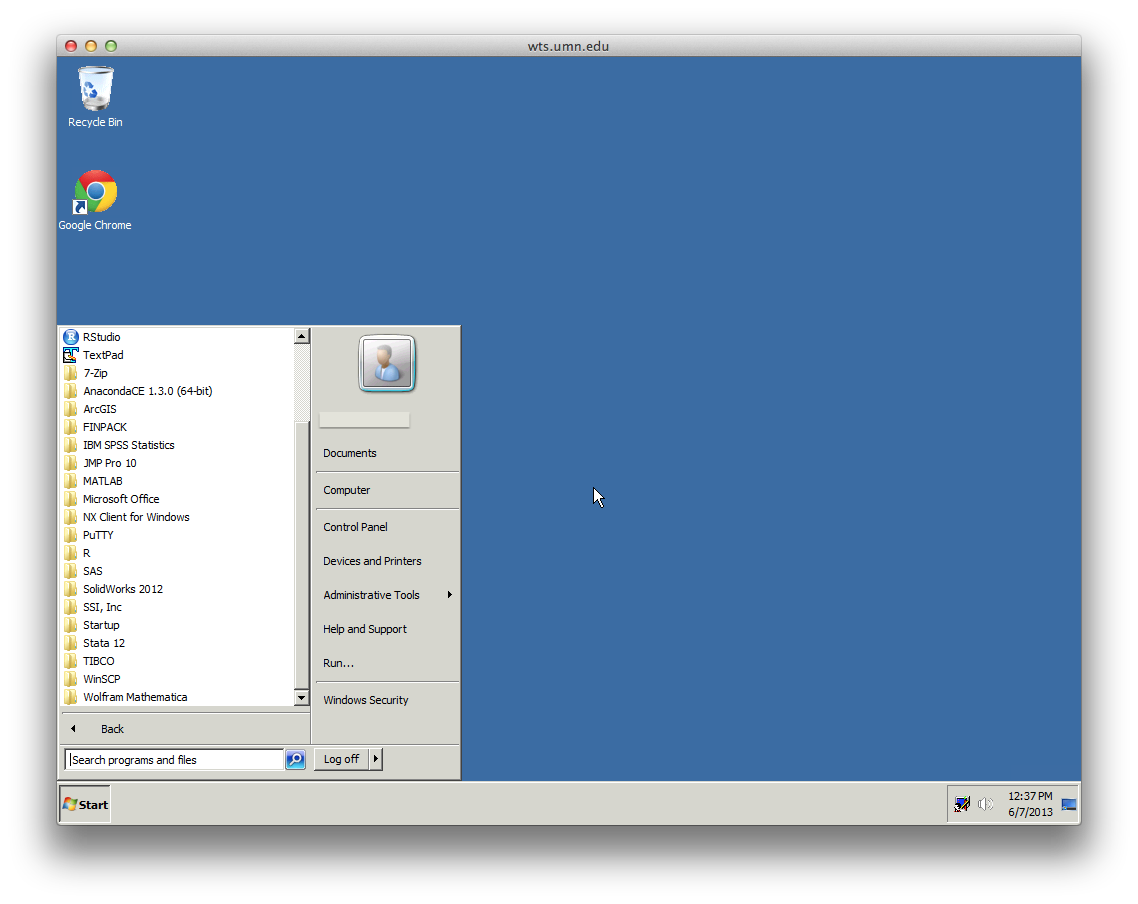
Software Available through WTS
- AlleleA1
- AnacondaCE
- ApE
- ArcGIS
- FINPACK
- Foldit
- IBM SPSS Statistics
- JMP
- MATLAB
- MEGA
- Microsoft Office
- NVivo Plus
- NX Client for Windows
- Origin
- Populus
- PuTTY
- R
- SAS
- SolidWorks 2012
- Stata 12
- TIBCO Spotfire
- WinSCP
- Wolfram Mathematica
... and more
If you would like to request additional software be installed, please use this form.
Connecting to Windows Terminal Services (WTS)
Please note: If you are off campus, you will need to connect to the VPN before you can access Windows Terminal Services.
Connecting from a Windows PC
1. Open the Remote Desktop Connection program located in the Windows Accessories section of the Start menu.
2. In the section labeled Computer enter "wts.umn.edu" and click connect.
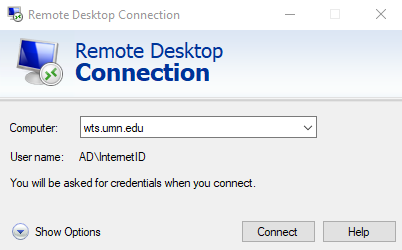
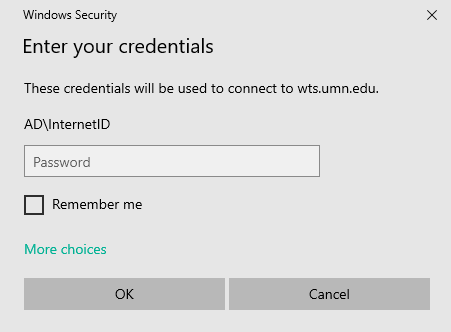
3. When prompted for your credentials, use your Internet ID to log in, but enter your username as AD\InternetID
ex: AD\doex5555
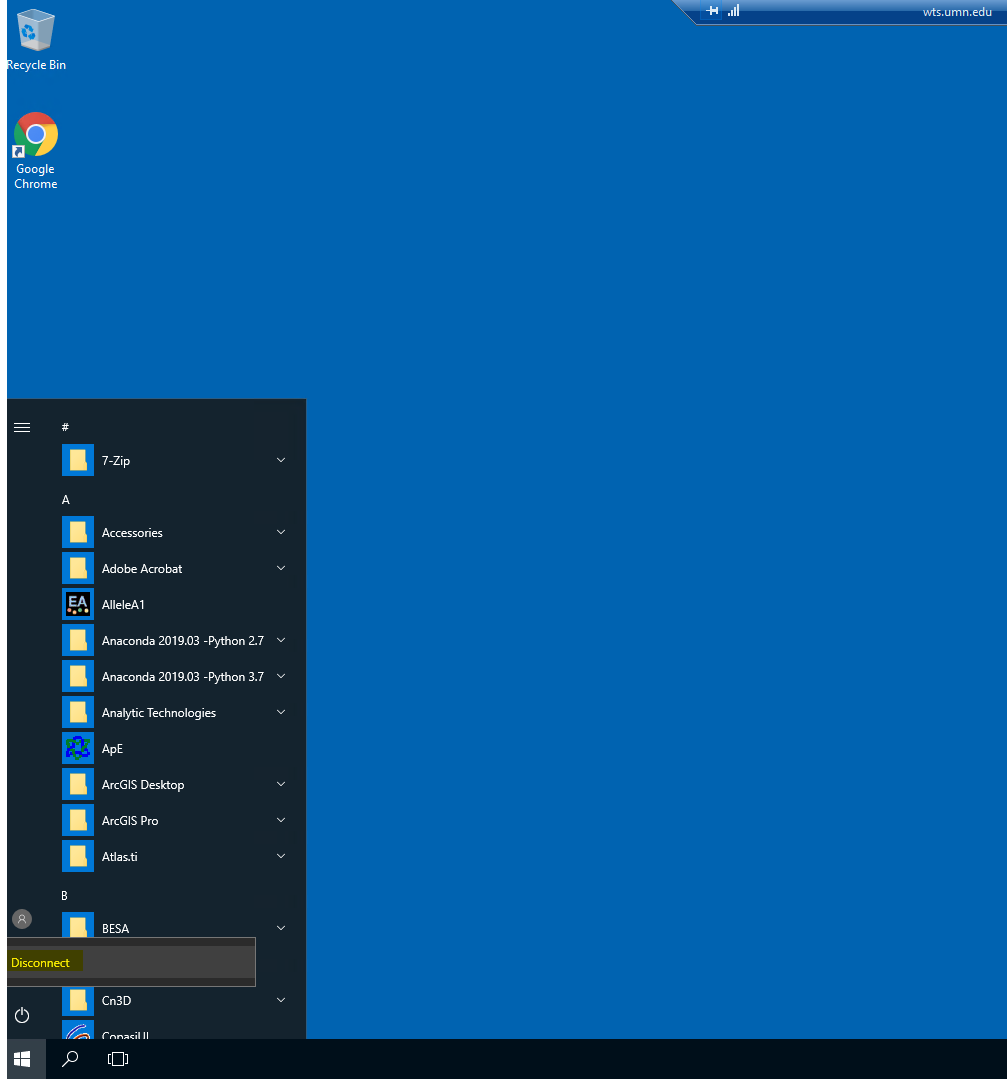
4. Once a connection is established, use the remote computer as you need to, many programs are available for use. If you need to leave something running for some time, you can close the window to disconnect from the session or disconnect using the Start menu.
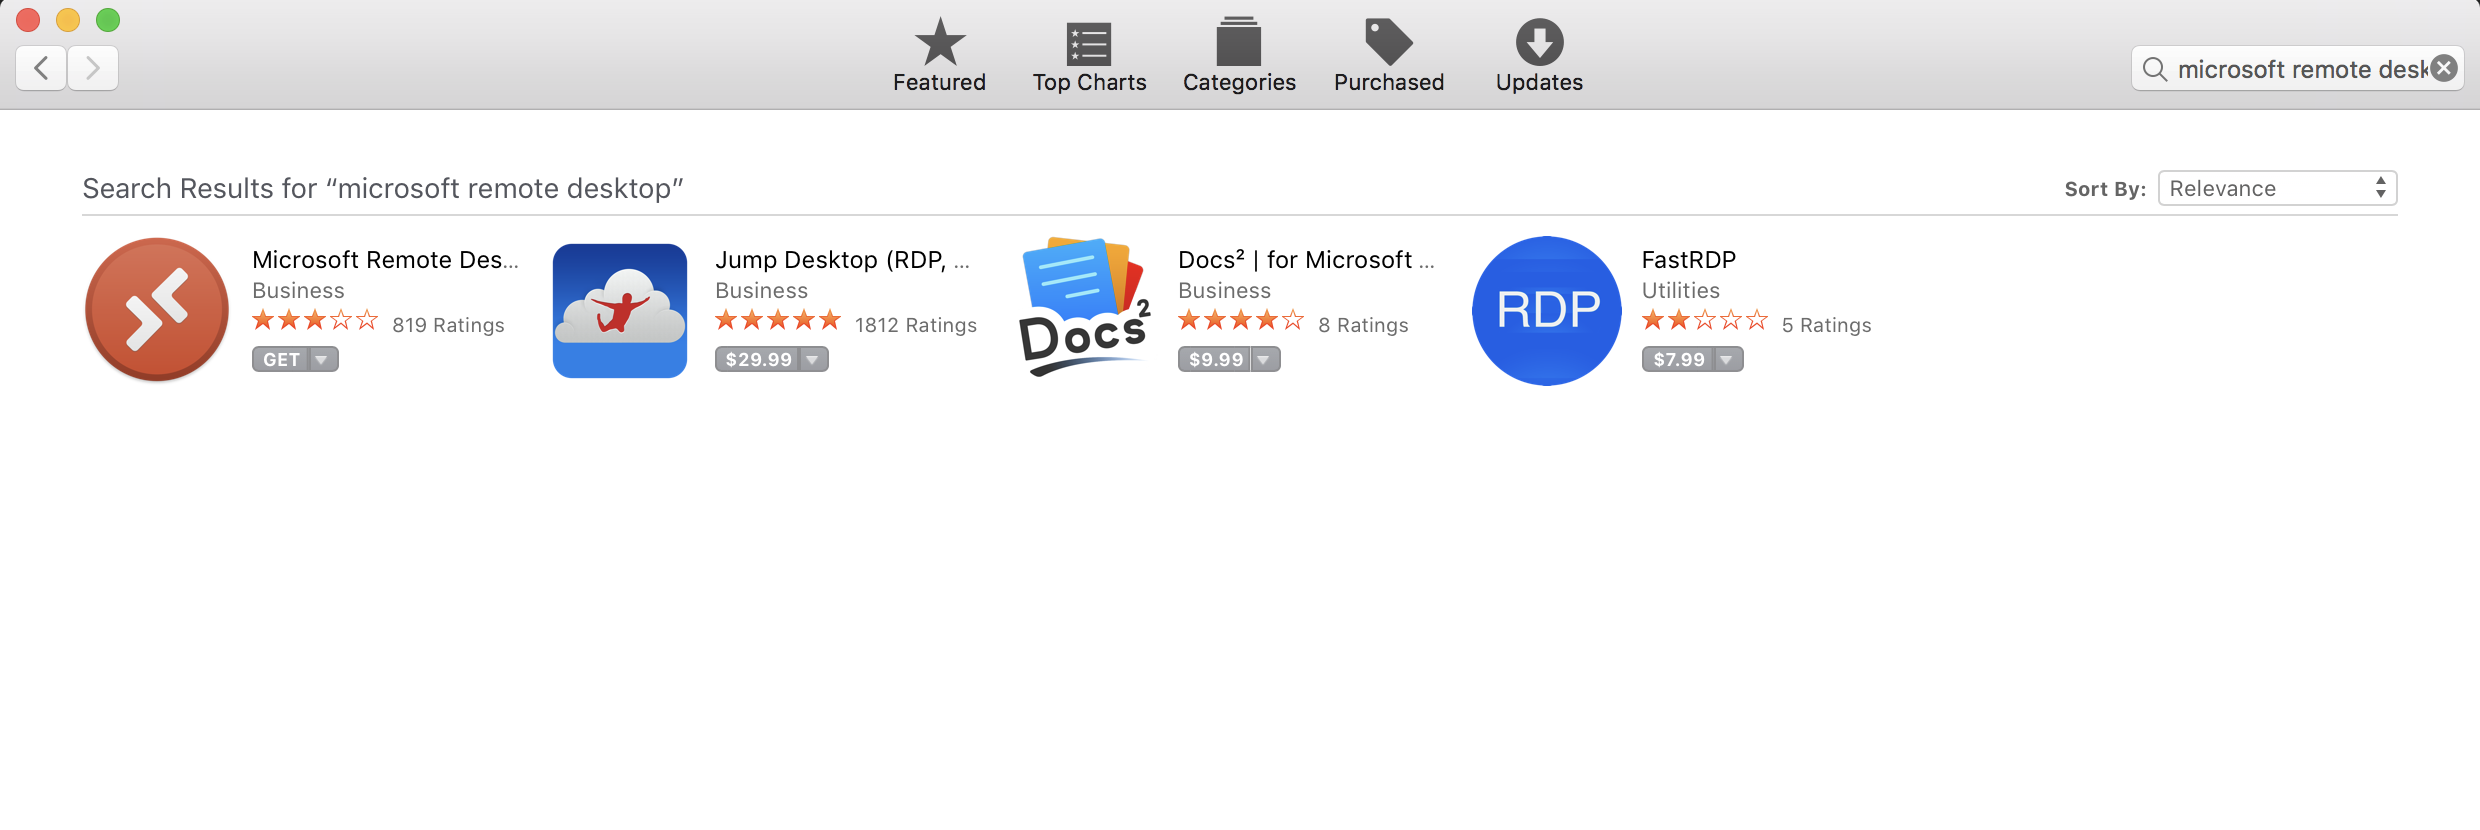
Connecting from OSX
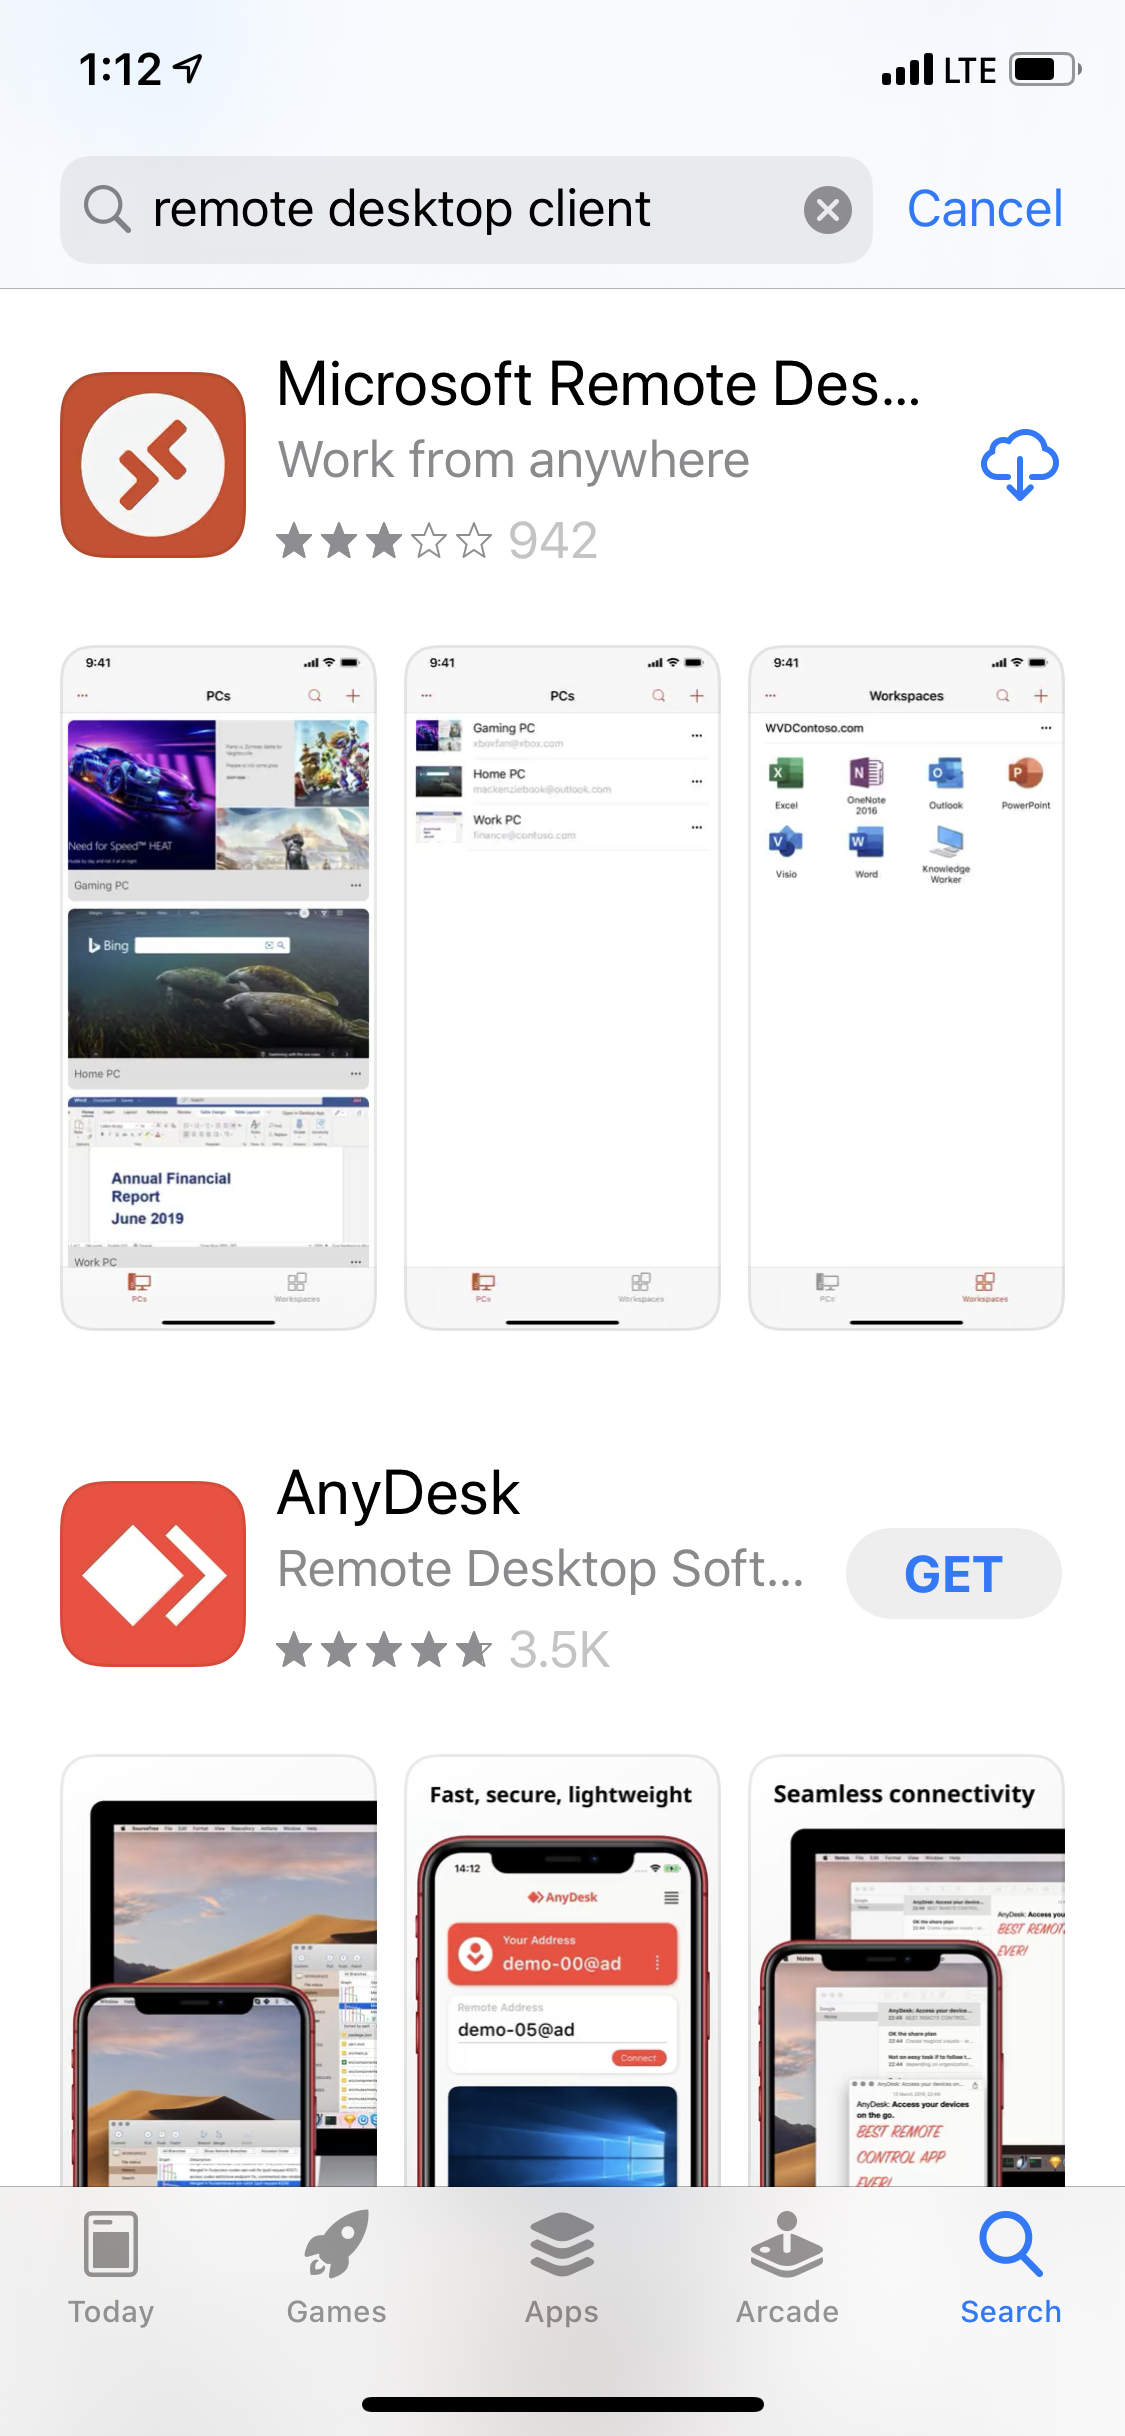
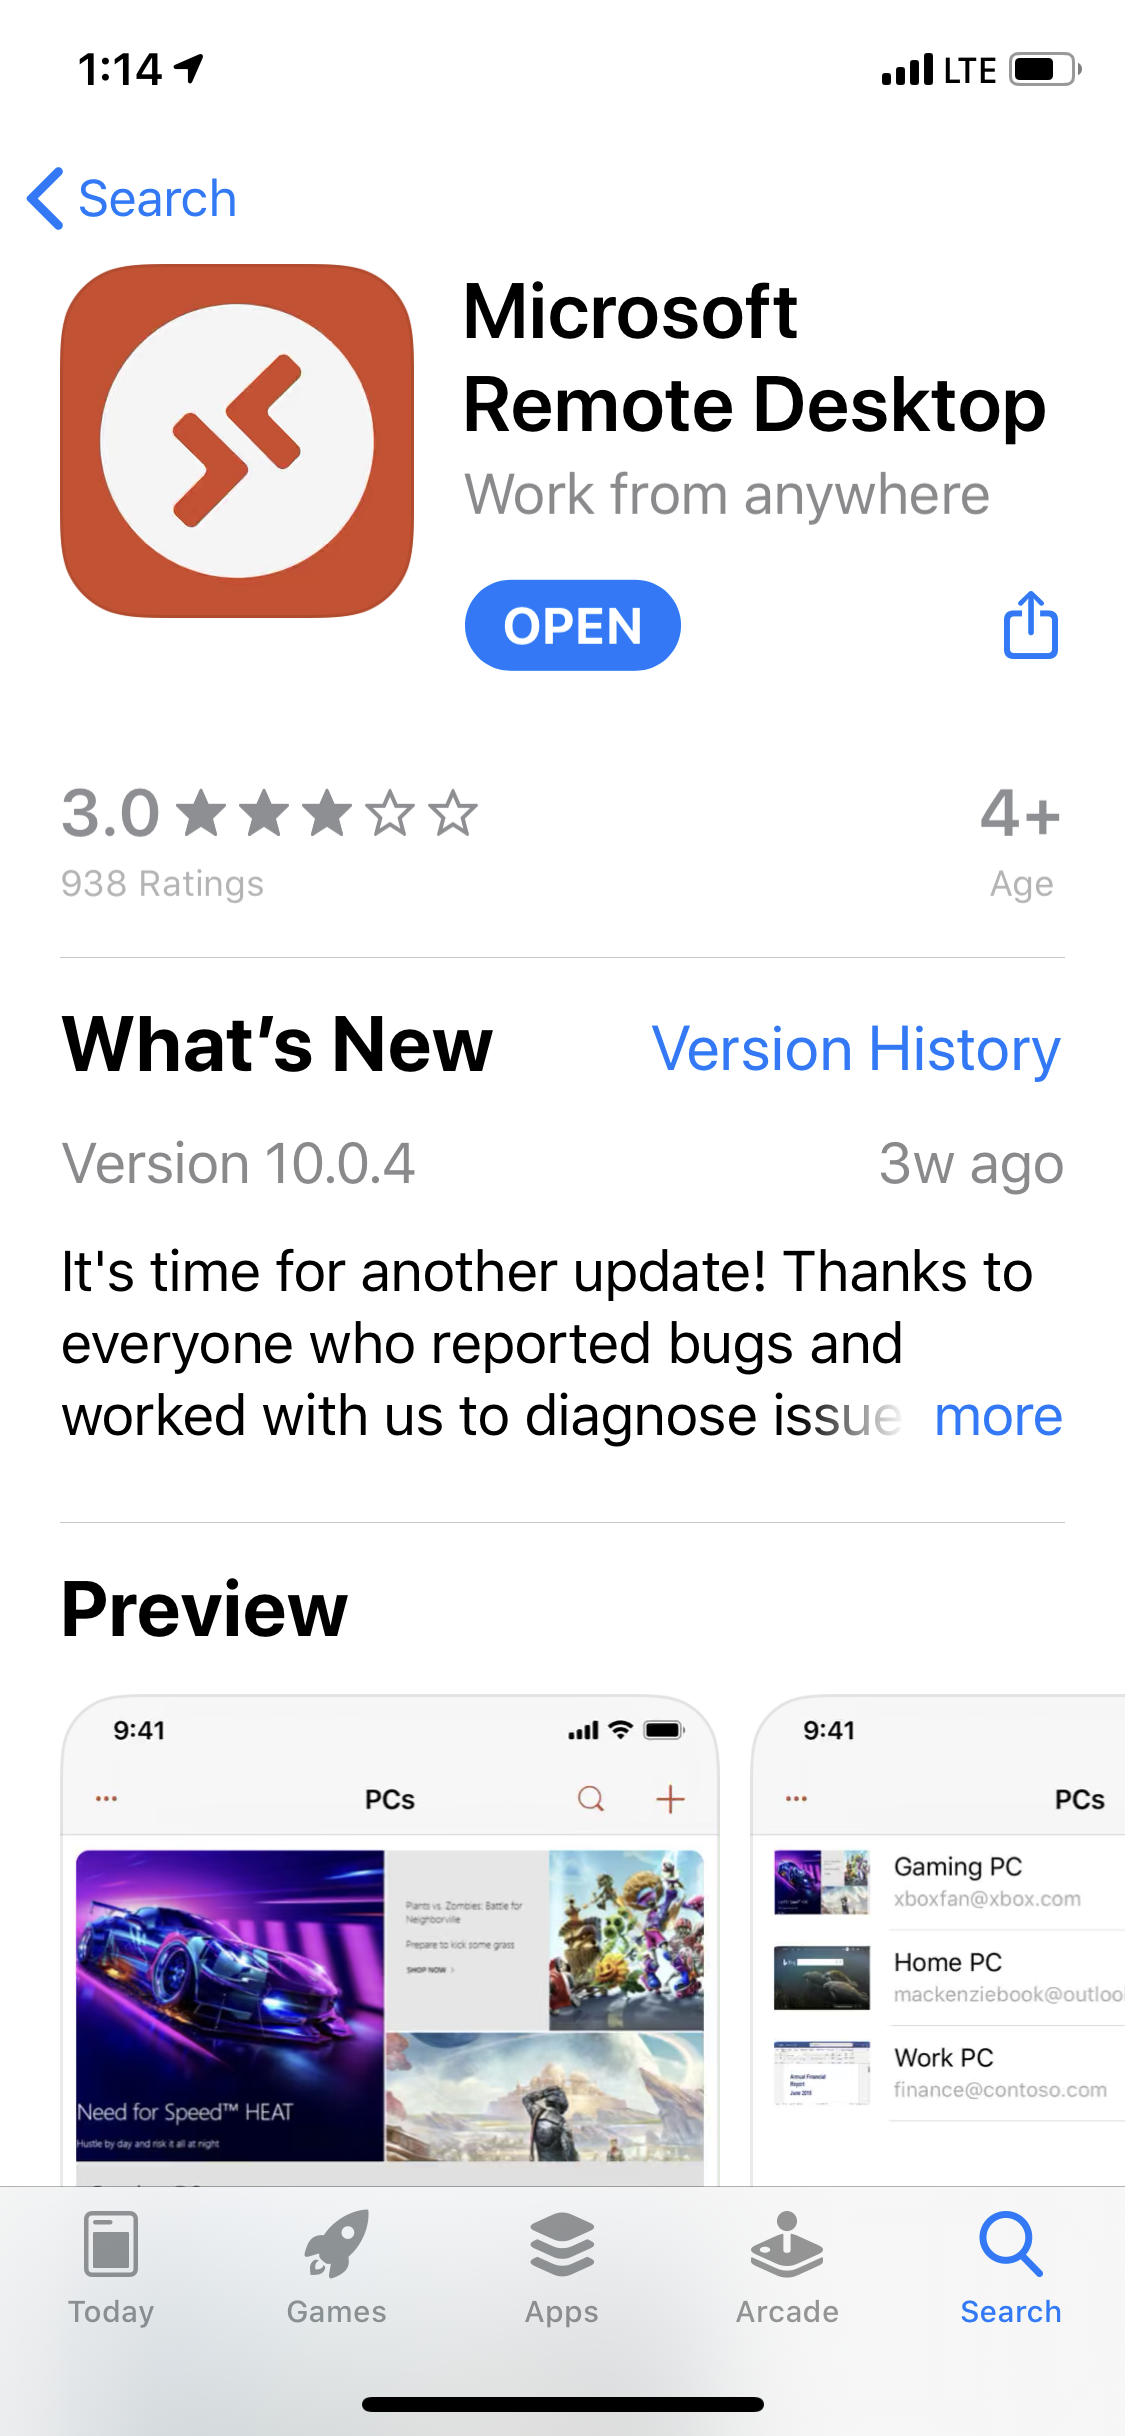
1. Search for Microsoft Remote Desktop in the App Store
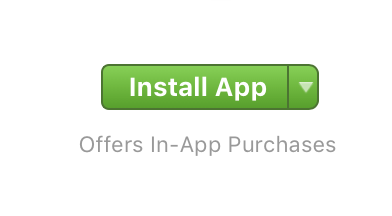
2. Click on GET under the correct application. The button should turn into one that says INSTALL APP.
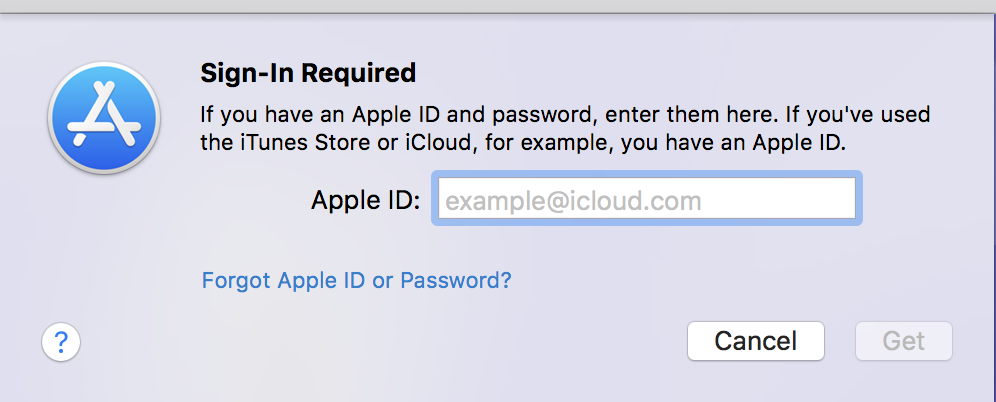
3. Clicking that should bring up a prompt asking for your Apple ID and Password. Put those in and press Sign In. When installation is complete, open the application.
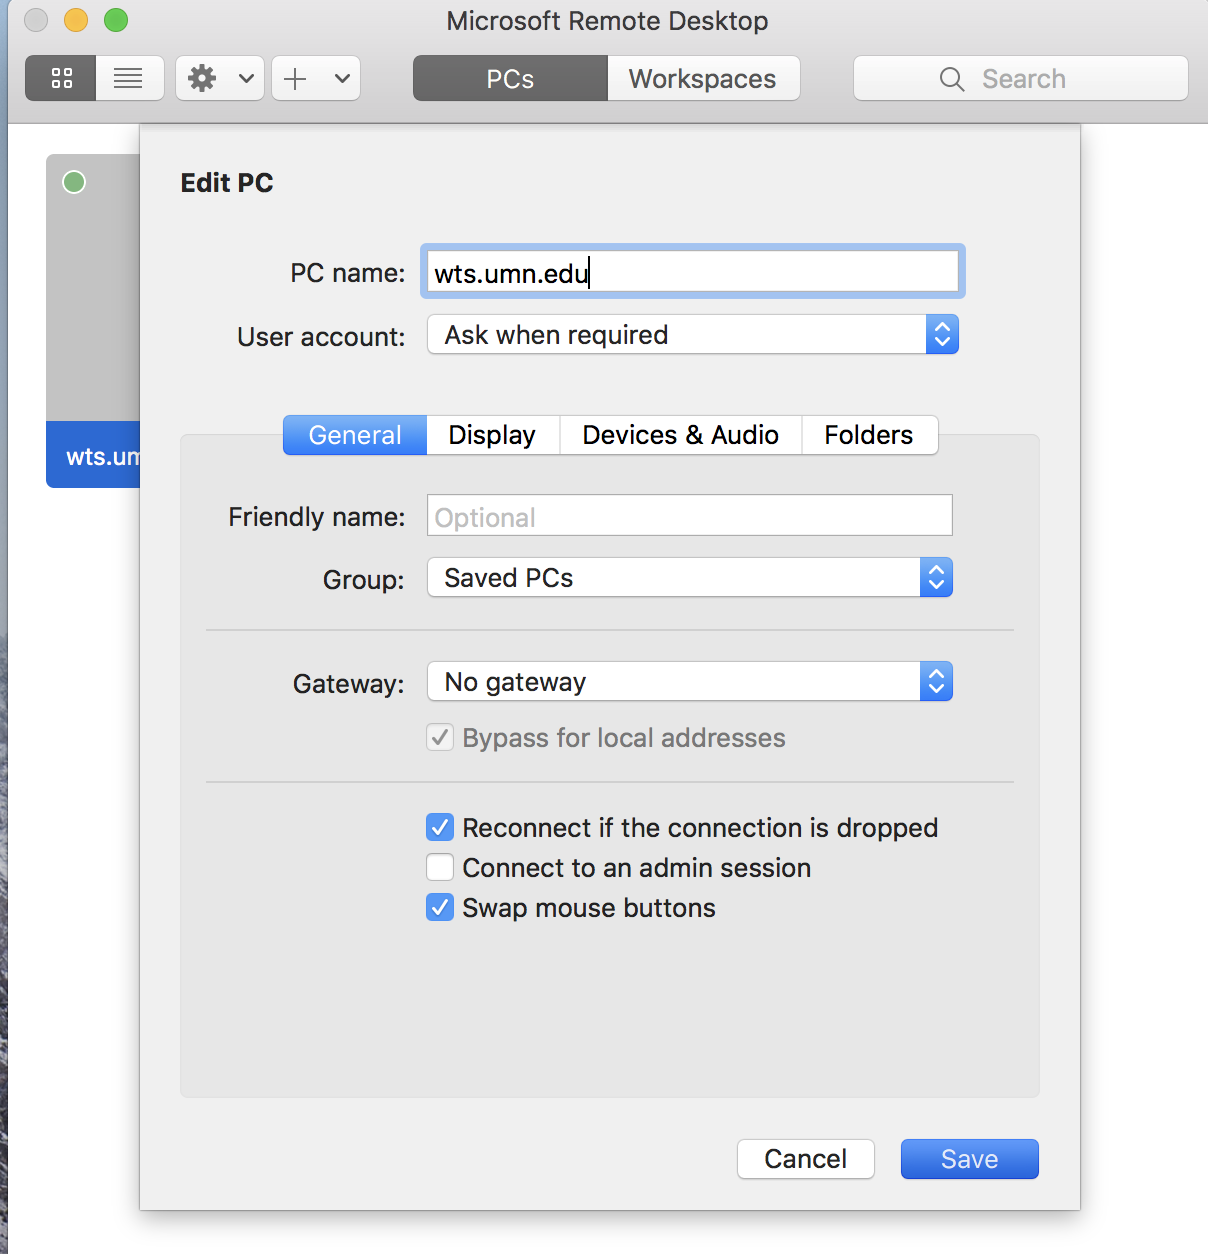
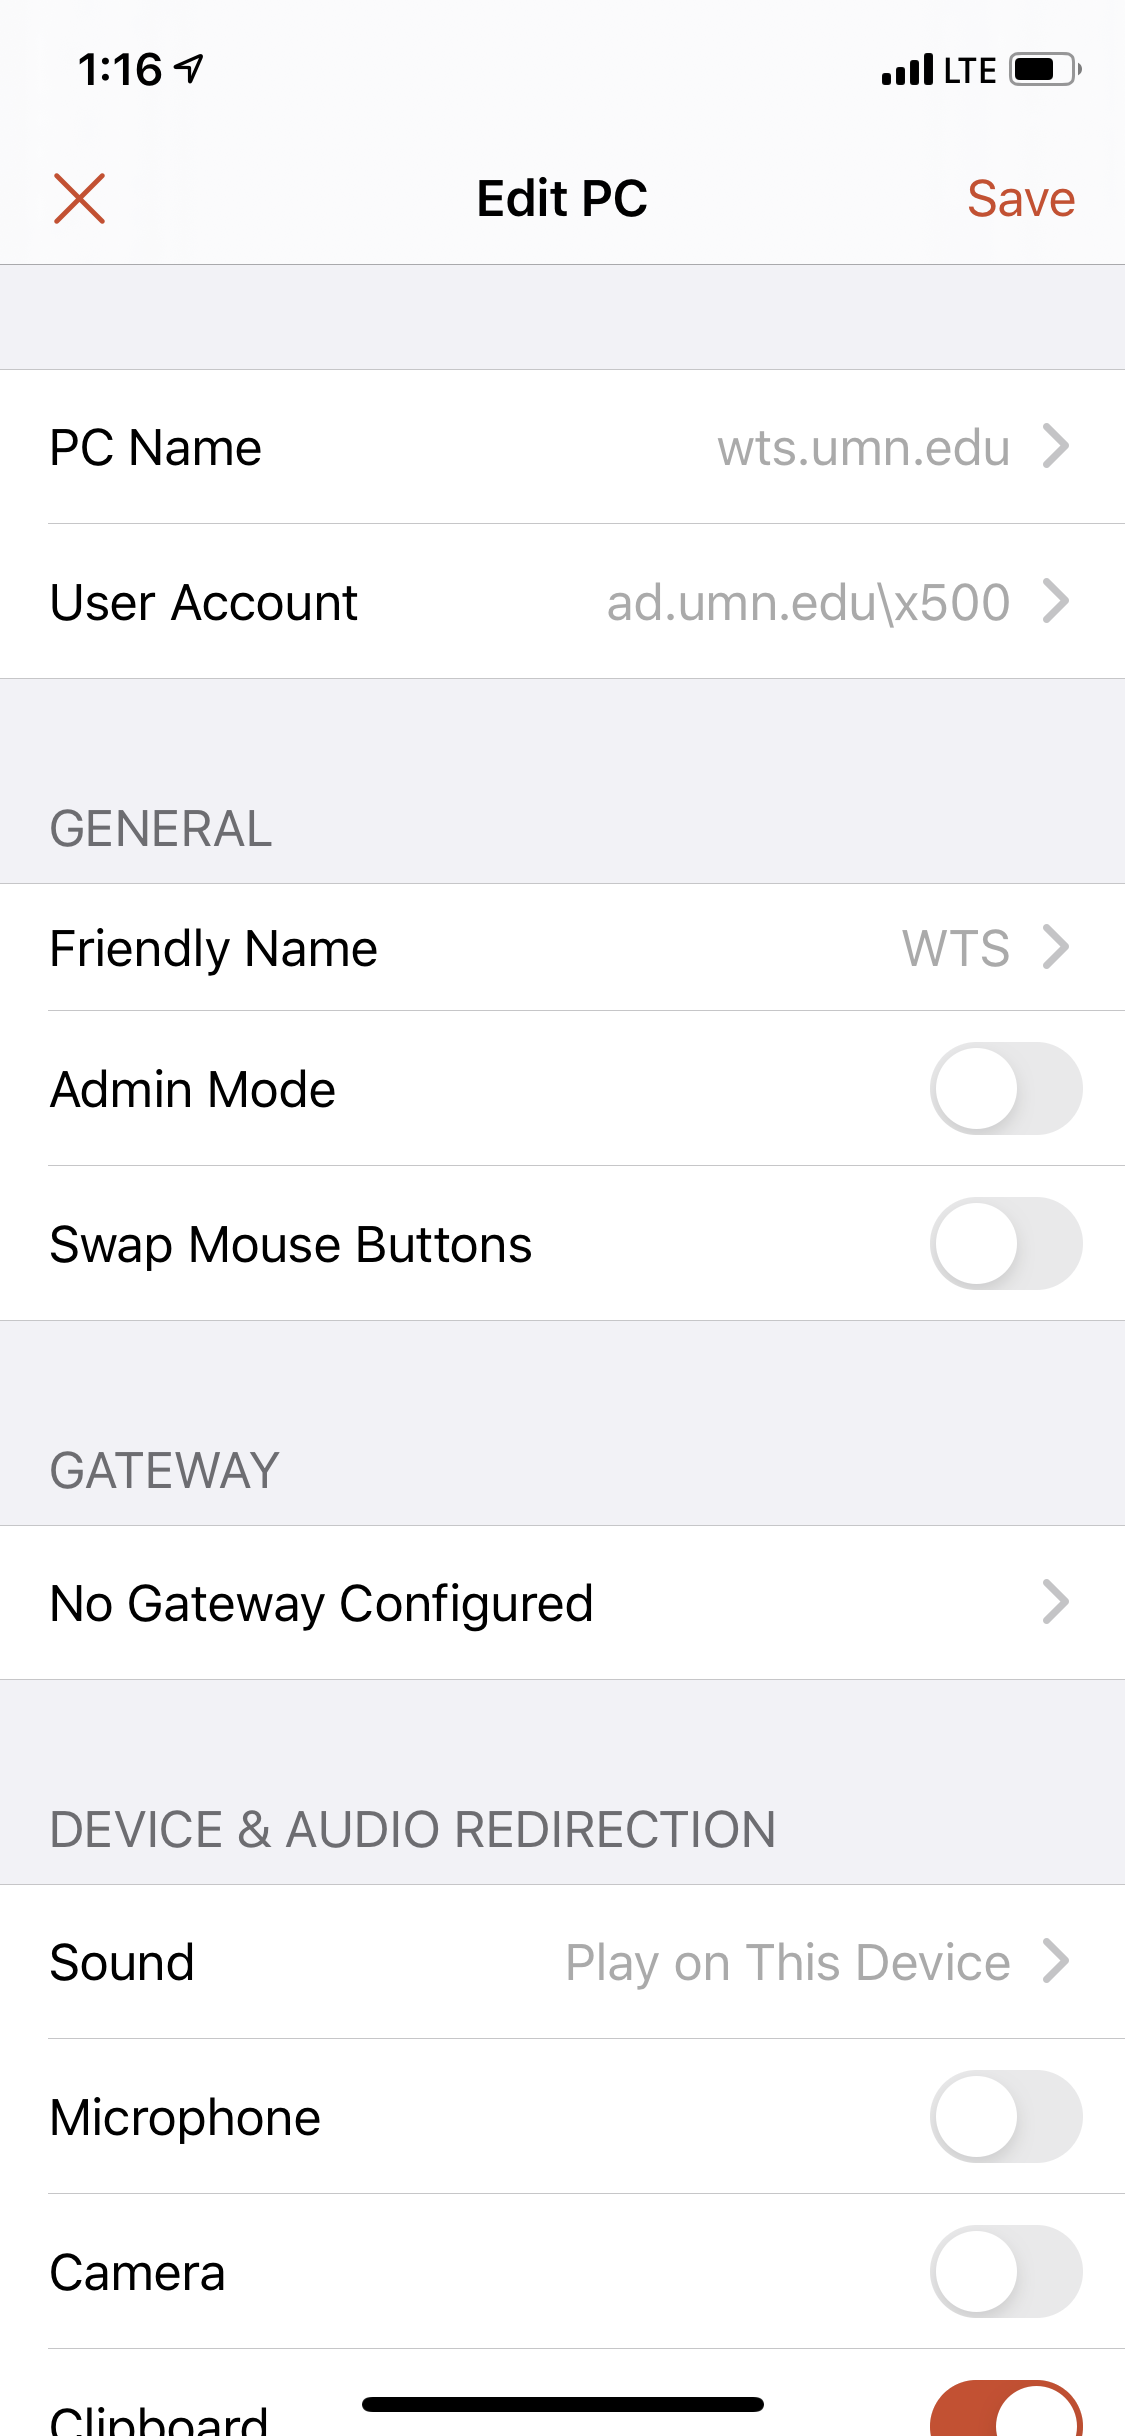
4. On the main screen, click on Add PC
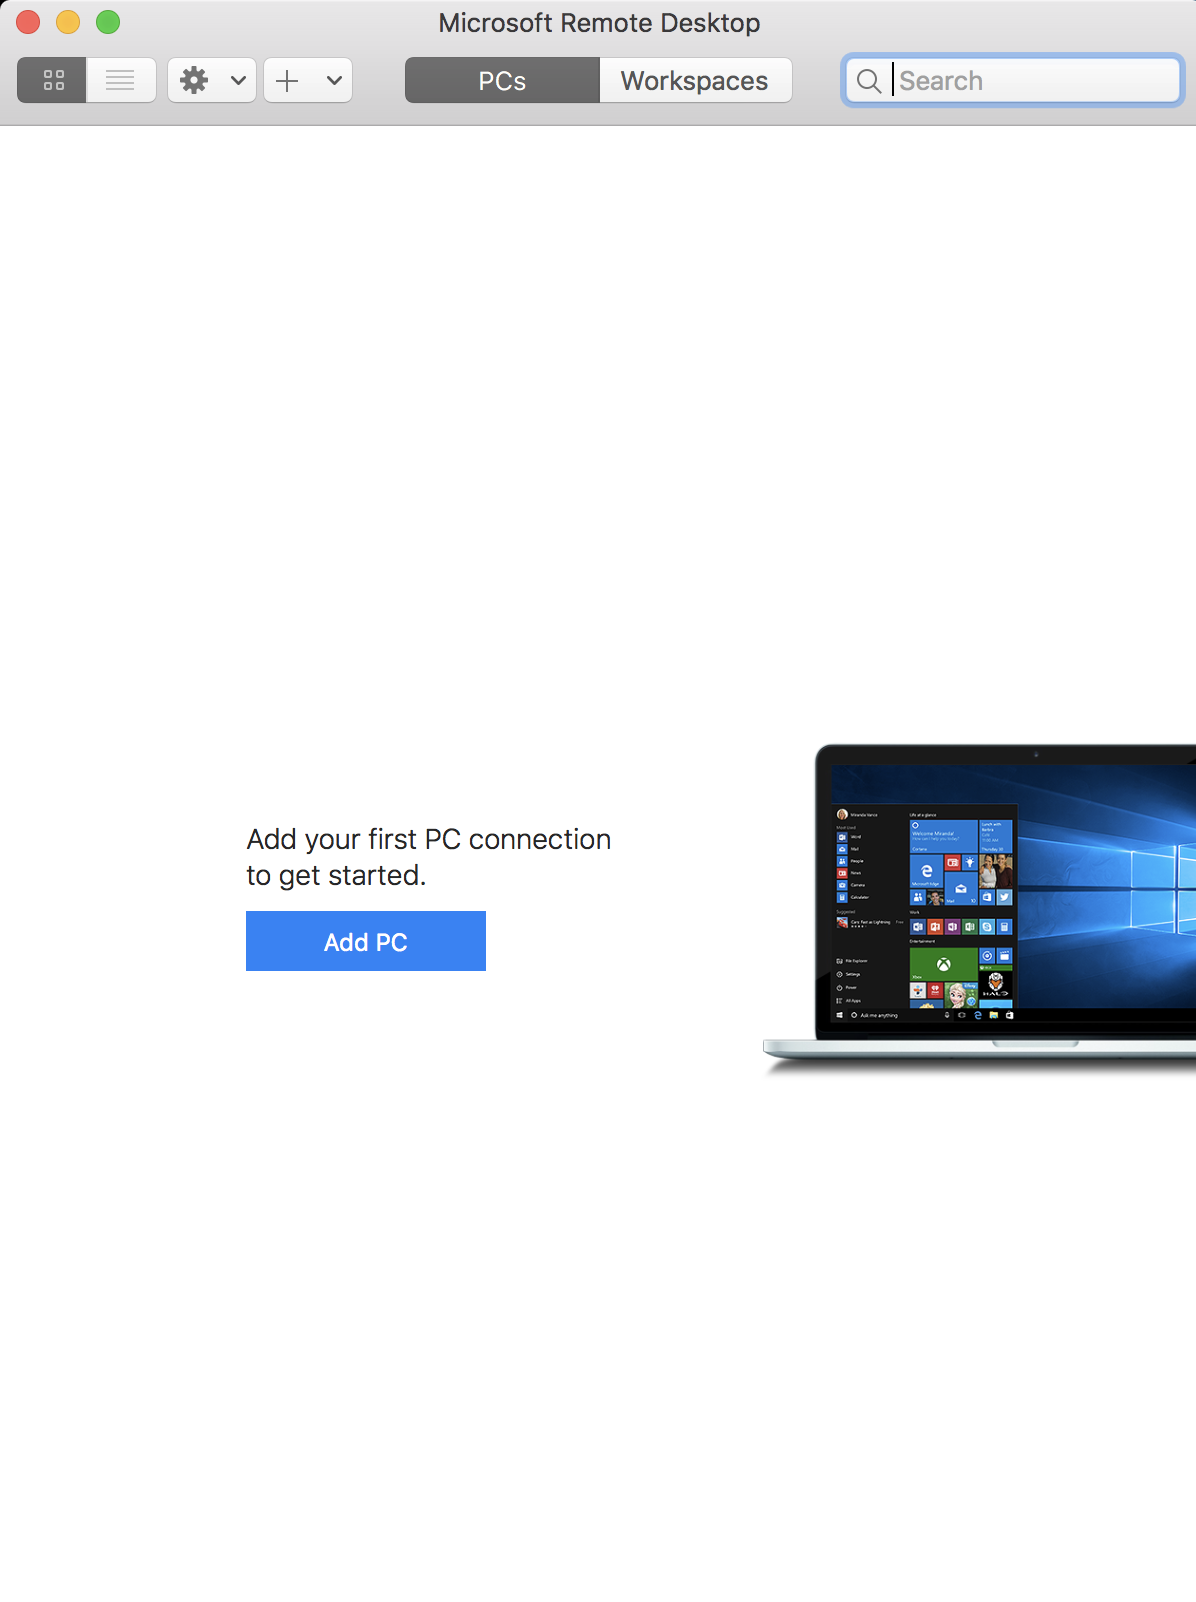
5. Fill out the fields as illustrated in the picture below
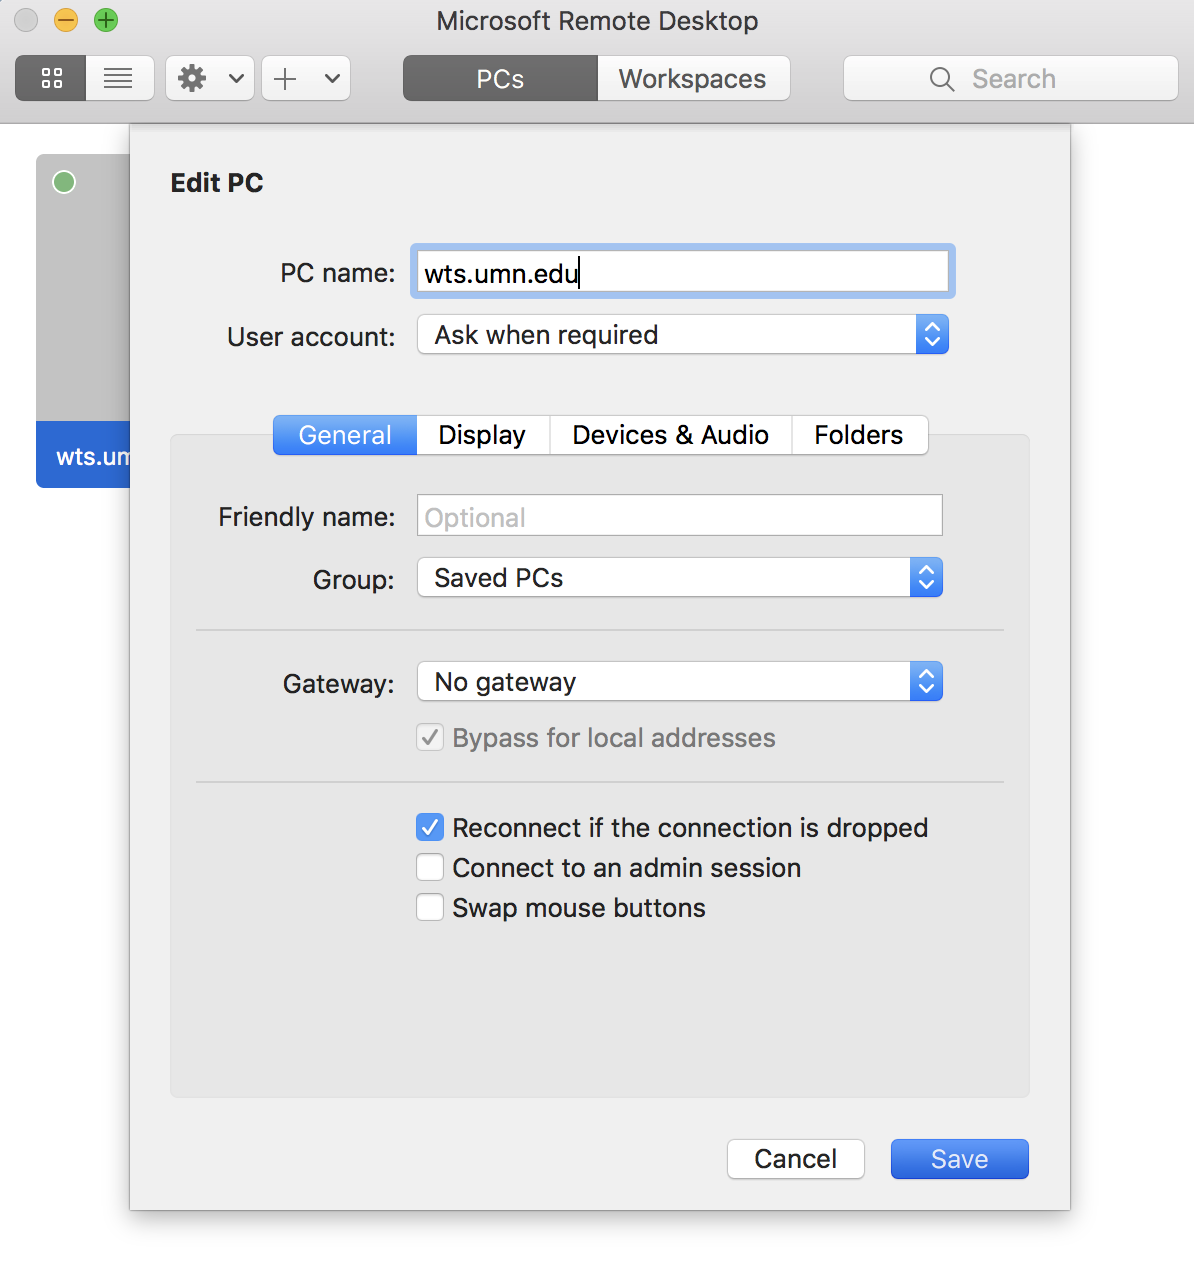
Note: If you have a left-handed mouse, check the box labeled Swap mouse buttons in the Session tab
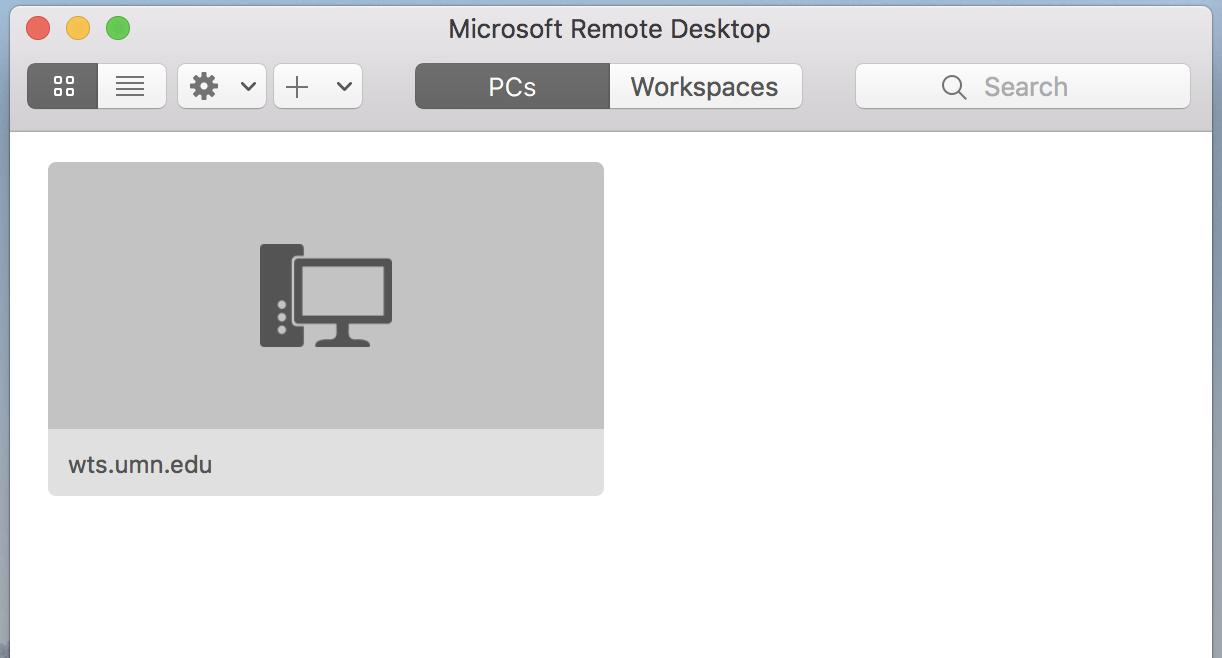
6. Save the edit window and you should see a new option under PCs. To connect, double click on the new option (named what was input under Friendly name otherwise wts.umn.edu).
7. A box will pop up asking for your Username and Password. Enter ad.umn.edu\Your Internet ID as the user name and your Internet ID password as the password and then click Continue.

8. Once a connection is established, use the remote computer as you need to, many programs are available for use. If you need to leave something running for some time, you can close the window to disconnect from the session or disconnect using the Start menu.
Connecting from IOS
1. Search for Microsoft Remote Desktop in the App Store
2. Click on GET under the correct application. The button should turn into one that says INSTALL APP, clicking that should bring up a prompt asking for your Apple ID and Password. Put those in and press Sign In. When installation is complete, open the application.
3. On the main screen, click on new remote desktop
4. In the General section of the Edit Remote Desktops screen, fill out the fields as illustrated in the picture below
6. Once finished touch Save, then to connect, click on the new option (named what was input under Connection name).
7. Once a connection is established, use the remote computer as you need to, many programs are available for use. If you need to leave something running for some time, you can close the window to disconnect from the session. If you are done using the system, please log off using the Start menu.
Connecting from Android/Chrome OS
Note: The screenshots are from an Android, the Chrome OS screens might look a little differet, but the configuration should be the same.
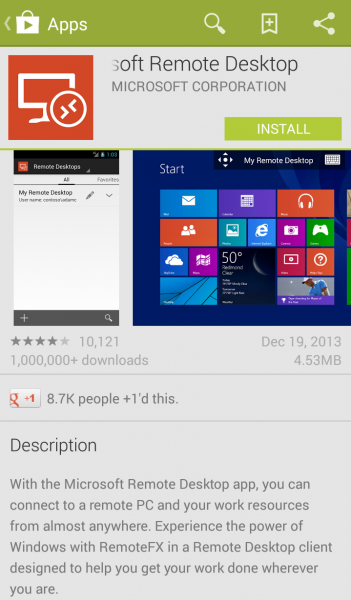
1. Search for Microsoft Remote Desktop in the Google Play Store
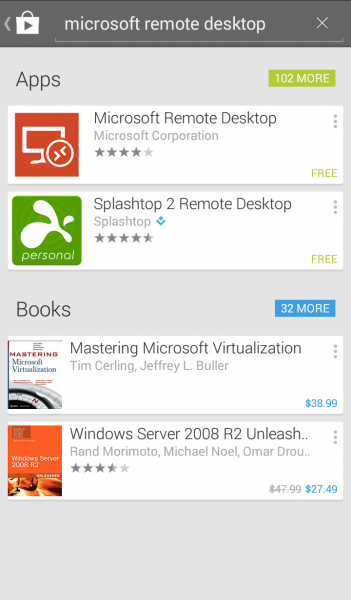
2. Click on Microsoft Remote Desktop and install
3. Open the App and click on the icon to the left of "What's New" if prompted
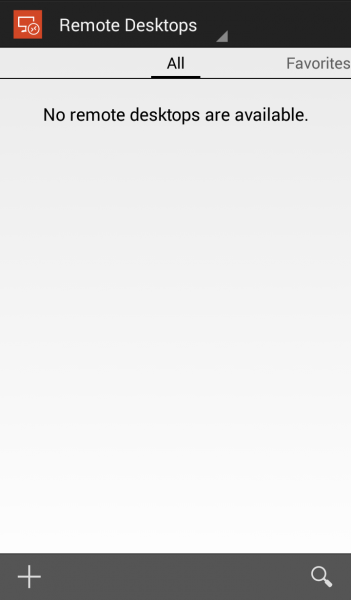
4. To create a new desktop click the "+" symbol on the bottom left
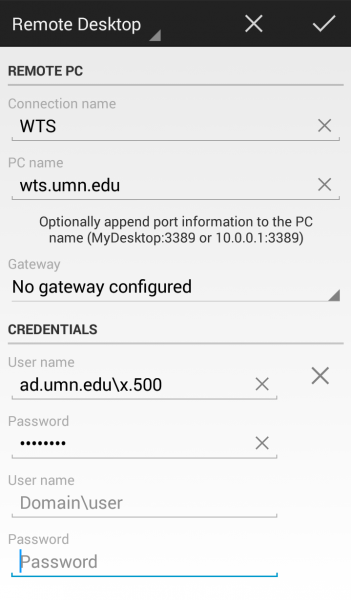
5. On the following page, fill out the fields as illustrated in the picture below.
Click the check mark to save when finished.
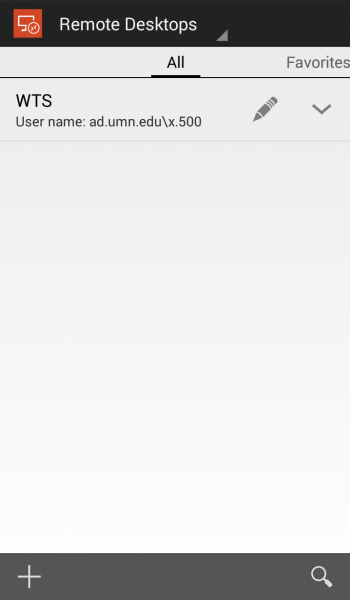
6. Click on the new option under All containing the desktop that was just created.
7.Once a connection is established, use the remote computer as you need to, many programs are available for use. If you need to leave something running for some time, you can close the window to disconnect from the session. If you are done using the system, please log off using the Start menu